GPIO Joy
GPIOJoy is a no code solution to control GPIO pins on the Raspberry Pi or NVIDIA Jetson using an XBox joystick controller. Simply create one or more config.XML files where you can map the joysticks and buttons to GPIO pins or devices such as stepper motors, servos, motors with rotary encoders, and seven segment displays.

You do not need to write any code to configure the application to control your specific creation. The buttons and joysticks are mapped to the GPIO pins using an XML file.
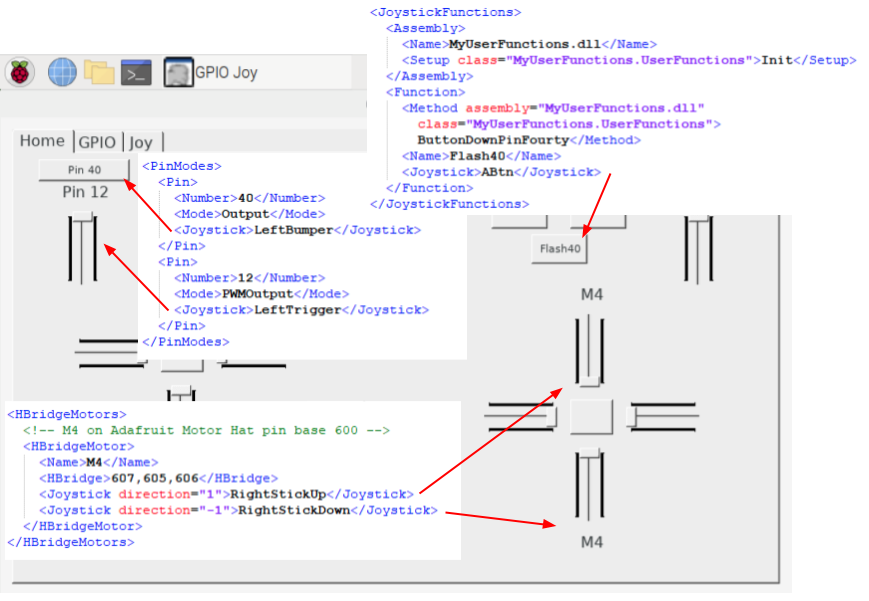
For example, use this XML to turn on pin 40 when you press the left bumper button.
<GpioConfig>
  <PinModes>
    <Pin>
      <Number>40</Number>
      <Mode>Output</Mode>
      <Joystick>LeftBumper</Joystick>
    </Pin>
  </PinModes >
</GpioConfig>
You can control GPIO pins in different modes, as well as device extensions. See the following pages for sample XML to control:
- Pulse Width Modulation
- H-Bridge Motor
- Stepper Motor
- Seven Segment Display
- MCP and PCA Port Expansion Chips
If you do want to write a some of your own code, you can also map joysticks and buttons to your own assemblies using the program’s public properties to access pins and devices defined in your configuration files.
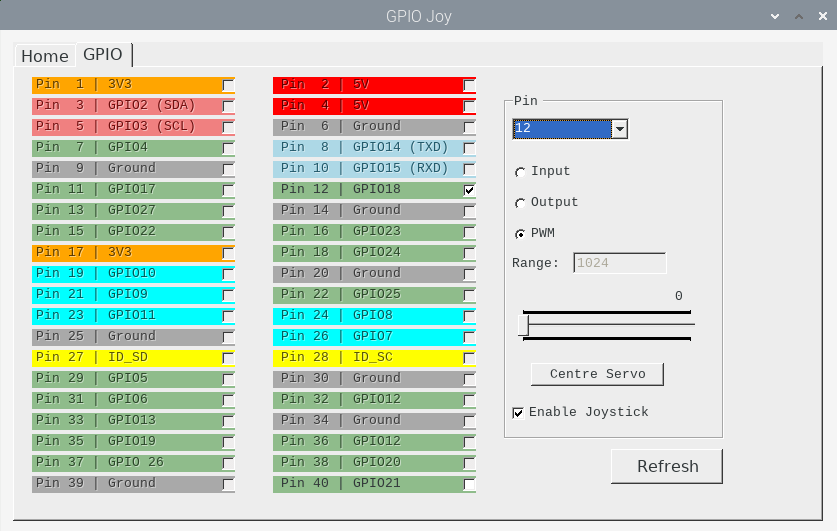
You can use the GPIO tab in the user interface to control individual pins in your setup. This is a useful feature when you are prototyping and testing your electronic creations.

The GPIOJoy program is written in C# using Windows Forms for the graphical user interface. You can compile it on Windows using Visual Studio and copy the binaries to the Raspberry Pi or NVIDIA Jetson. You can also compile it directly on the Raspberry Pi or Jetson using MonoDevelop. The source code and instructions to build GPIOJoy are available here:
The GPIOJoy program uses the wiringGpioExtensions library to control the GPIO pins. The wiringGpioExtensions library is written in C++, with a plain C interface and a wrapper available for C#. More information about the wiringGpioExtensions library is available here:
